Use Logging to Debug Support Issues
WP Logging is a tool to help figure out if there are any problems/errors on your site and the install of the WP Inventory Manager plugin. It is a diagnostic tool that helps developers and our support team to help you with troubleshooting and fixing problems. Please install if you are a developer or have been instructed to by our support team. There is no need for this add on if your site is fully functioning and you do not have any issues.
Installation
- Download the WP Logging plugin.
- Install the plugin through your WordPress dashboard by navigating to the “Plugins” tab.
- After browsing and uploading the ZIP file, activate the plugin.
Enabling Logging
Once the plugin is installed, you must enable the logging functionality to start recording debug messages. This can be done your WP Inventory settings. Navigate to General Settings > Logging Settings and change the Enable Logging setting to “yes.” We only recommend enabling the Log to Screen setting if directed to do so by the WP Inventory Manager support team.

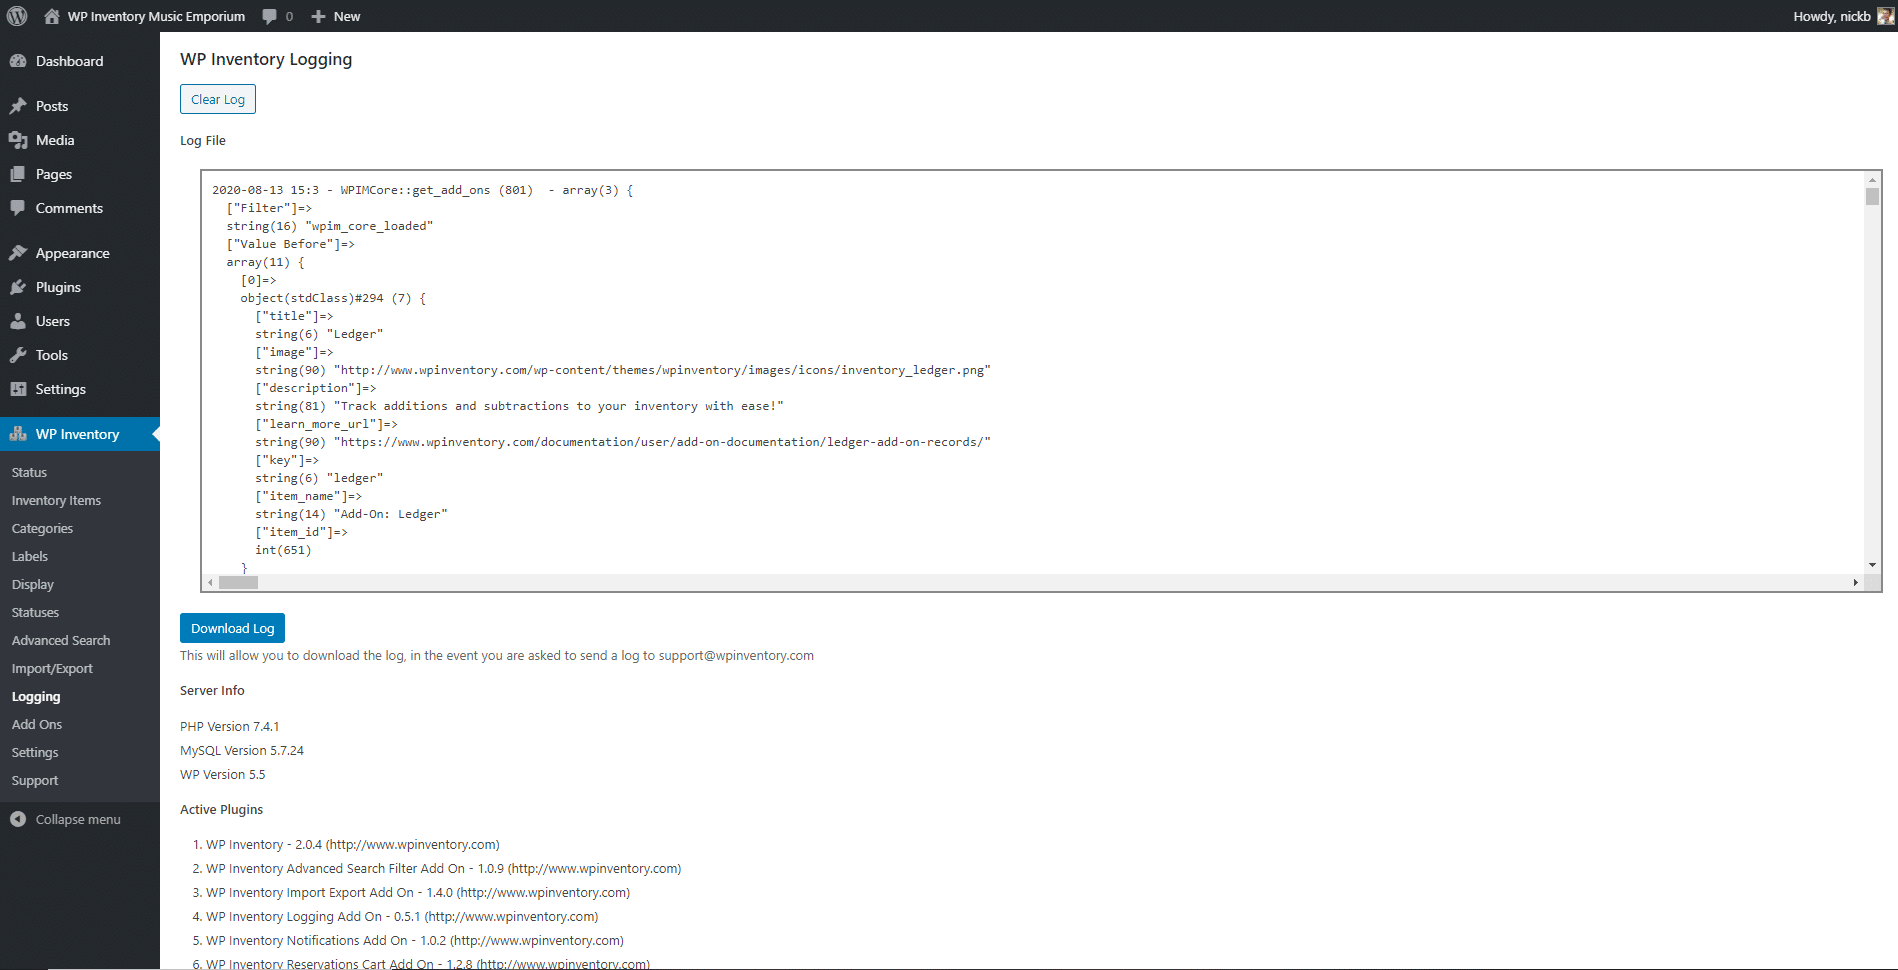
Accessing the Log
Once enabled, your debug log will be available under the Logging menu option in your WordPress dashboard. Here is where you’ll be able to download the log text file in order to share your site information with WP Inventory Manager support. Please note that the log may take some time to display, as the file size can become quite large. Watch your browser tab’s loading icon to check if the log is still loading or not.
You’re also able to Clear Log from here, which will empty out your debug log file. If you don’t run into any issues or errors, feel free to clear the log regularly to prevent long loading times.