
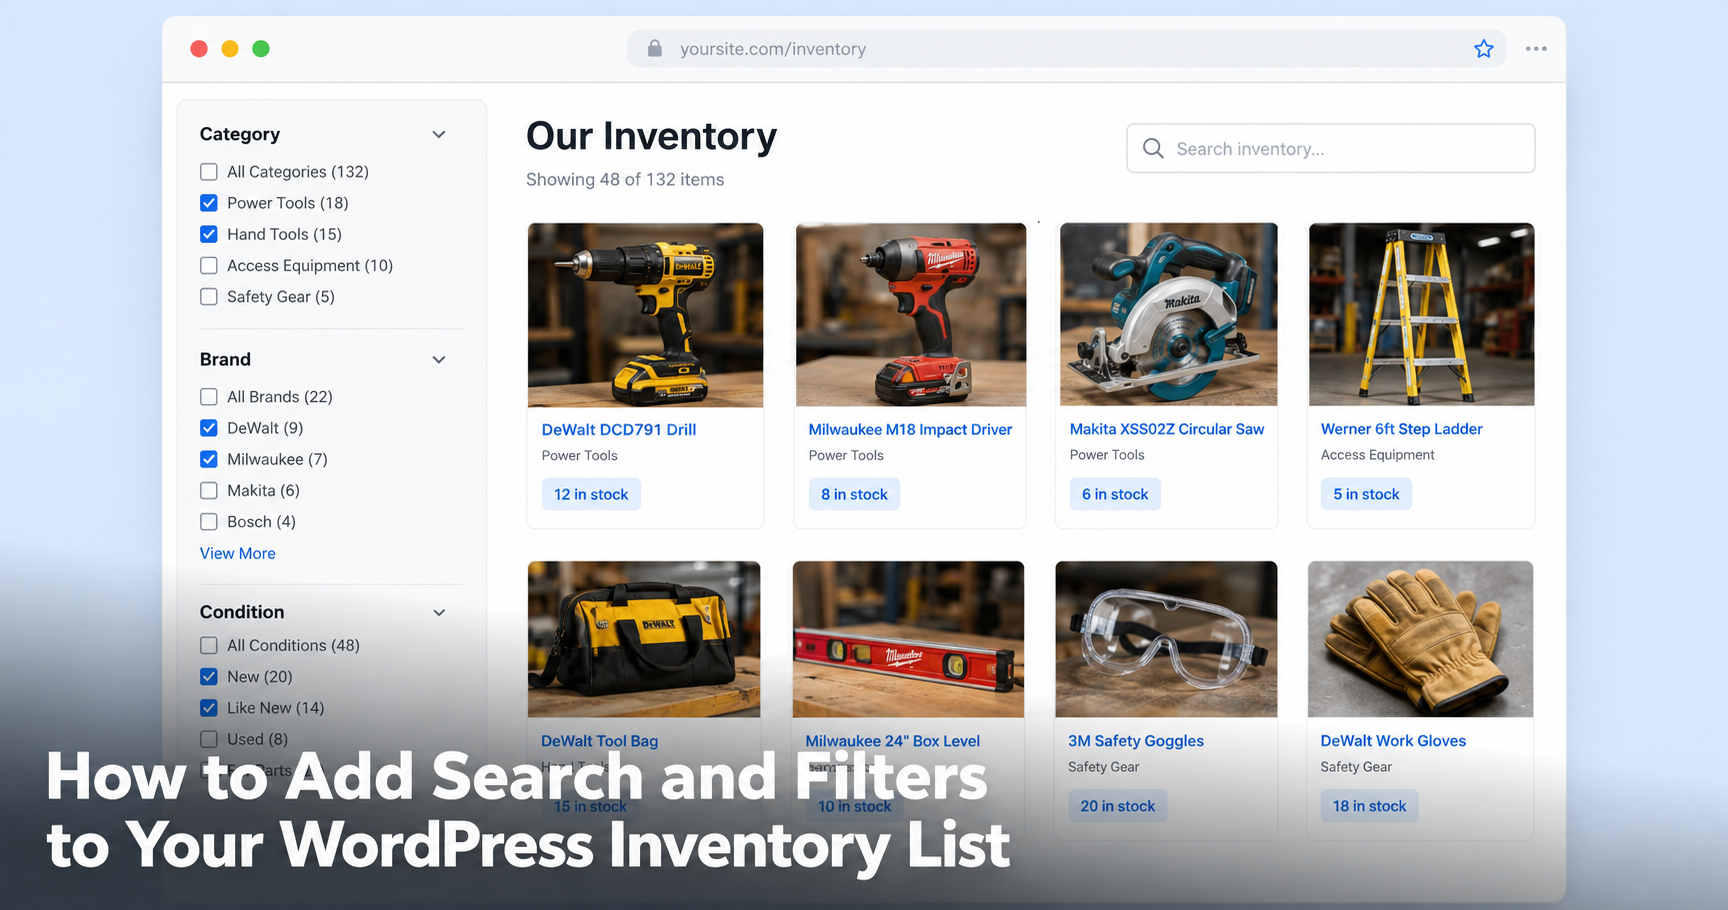
A WordPress inventory list works fine at 20 items. At 200, visitors need a way to search and narrow it down.
A WordPress inventory list works fine at 20 items. Visitors scroll, they find what they want, everyone is happy.
At 200 items it stops working. People land on the page, scroll for four seconds, see no way to narrow anything down and leave. You never hear about it because nobody emails you to say your catalog was hard to browse.
The fix is already sitting in your plugin. WP Inventory Manager ships with a filter bar in the free version and most sites have simply never switched it on.
This guide covers how to enable it, how to control it from the shortcode and when to move up to faceted filtering.
Step 1: Turn on the built-in filter bar
The free version of WP Inventory Manager includes a filter form that renders above your item listing. It is controlled by a single setting.
In your WordPress admin, go to WP Inventory > Settings and find the option labelled Display Filter at Top of Item Listing. Set it to Yes and save.
That is the whole step. Reload any page that carries your [wpinventory] shortcode and the filter bar appears above the list.
Example: A tool rental shop in Portland lists 180 items on one page. Before switching the filter on, visitors had to scroll through concrete mixers to reach ladders. After switching it on, a visitor types “ladder” in the search box, picks the Access Equipment category and lands on eight items instead of 180.
What you get for free
The built-in filter bar gives visitors four controls without any extra plugin:
- Keyword search. A text box that matches against your item fields.
- Status dropdown. Filters by the statuses you have configured, for example Available, On Loan or Sold.
- Sort dropdown. Lets visitors reorder the list by any field you have marked as sortable.
- Category dropdown. Narrows the list to a single category.
All four submit together with one button. It is a plain form, so it works with caching, works without JavaScript and adds no measurable weight to the page.
Step 2: Control the starting view from the shortcode
The filter bar handles what visitors do. The shortcode handles where they start.
The [wpinventory] shortcode accepts parameters that pre-filter the list before anyone touches a control. The useful ones are category, category_id, inventory_status, inventory_search, order and page_size.
This matters more than it sounds. Instead of one enormous list with a filter bar on top, you can build several focused pages and let the filter bar refine each one.
A practical pattern
Say you rent equipment in three broad groups. Rather than a single page, create three:
- A Power Tools page using
[wpinventory category="Power Tools" page_size="25"] - An Access Equipment page using
[wpinventory category="Access Equipment" page_size="25"] - A full catalog page using plain
[wpinventory]for anyone who wants to browse everything
Each page now ranks for its own keyword, each one loads faster and the filter bar still lets visitors narrow further.
If you have not set up your listing pages yet, our guide on displaying inventory with the shortcode covers the parameters in detail and the full list lives in the user documentation.
Step 3: Know when the free filter runs out
The built-in bar covers keyword, status, sort and category. That is enough for most catalogs.
You have outgrown it when one of these is true:
- You need to filter by custom fields. Manufacturer, size, colour, condition or model year. The free bar filters by category and status only.
- Visitors need to combine filters. Red and size large and in stock, all at once, rather than one dropdown at a time.
- A page reload each time is too slow. The free bar submits a form. Every refinement is a full page load.
- You want filters in your sidebar. The free bar sits above the listing. It cannot move into a theme widget area.
Step 4: Add faceted filters with Advanced Search
The Advanced Search Filter add-on replaces the single-row bar with a checkbox sidebar that re-queries the list over AJAX.
Visitors tick boxes and the results update without a page reload.
Once the add-on is active, a new Advanced Search screen appears under the WP Inventory menu. The setup screen has two halves.
Choosing which fields become filters
The left column lists every field on your items with a checkbox beside each one. Tick a field to make it appear in the filter.
Drag the rows up and down to set the order they appear in on the front end.
Ordering the values inside each field
Click the folder icon next to a field and its distinct values load in the right-hand panel. Drag them into the order you want.
The panel also holds a More separator: values above it are visible immediately, values below it stay hidden until a visitor clicks View More.
This is the part most people skip and it is the part that does the work. A manufacturer filter with 40 brands is unusable as a wall of checkboxes. Put your top six above the More tag and the rest below it and the same filter becomes readable.
Example: A bike shop tracks 340 frames. They expose three filters: Frame Size, Brand and Condition. Brand has 22 values, so the four brands they actually stock in volume sit above the More separator. Average time to find a specific frame drops from open-ended scrolling to three clicks.
Placing the filter on your site
You have two options. Drop the shortcode onto the same page as your listing:
[wpinventory_advanced_search title=”Filter” display_as=”checkboxes” disable_ajax=”0″]
Set display_as="dropdowns" if checkboxes take too much vertical space.
Leave disable_ajax="0" to keep live updating, or set it to 1 if your theme conflicts with the AJAX call.
Alternatively use the bundled widget. Drag WP Inventory Advanced Search Filter into any theme widget area and it renders the same sidebar in your existing layout.
The add-on is included in the All Access plan alongside Pro, Locations Manager, Reserve Cart and Advanced User Control.
If the filter does not appear
Three causes account for almost every support ticket on this:
- The setting is off. Check WP Inventory > Settings for Display Filter at Top of Item Listing and confirm it reads Yes.
- Caching. Your host or CDN is serving the pre-change version of the page. Purge both layers, not just one.
- Custom field facets are empty. Advanced Search can only expose custom fields when the Advanced Item Manager add-on is active and a field type is configured. Without a type, the values cannot be resolved and the facet stays blank.
One more worth knowing: the Advanced Search admin screen respects a role setting. If a staff member cannot see the screen, check which role you set as the minimum for managing Advanced Search.
Frequently asked questions
Does WP Inventory Manager include search in the free version?
Yes. The free version includes a filter bar with a keyword search box, a status dropdown, a sort dropdown and a category dropdown.
It is controlled by the Display Filter at Top of Item Listing setting under WP Inventory > Settings and is switched on by default.
Can visitors filter my inventory by custom fields like brand or size?
Not with the free filter bar, which covers category and status.
Custom field filtering requires the Advanced Search Filter add-on and the fields themselves come from the Advanced Item Manager add-on. Both are included in the All Access plan.
Do the filters update without reloading the page?
The free filter bar submits a standard form, so it reloads the page.
Advanced Search uses AJAX and updates the listing in place. You can turn the AJAX behaviour off with disable_ajax="1" if your theme interferes with it.
Can I put the inventory filter in my sidebar?
Yes, with Advanced Search. The add-on registers a widget that you can drag into any theme widget area, so the filter sits in your existing sidebar rather than above the listing.
Does any of this require WooCommerce?
No. WP Inventory Manager and all of its add-ons run independently of WooCommerce.
The search and filter features work on any WordPress site, including sites with no ecommerce functionality at all.
Set up your filters in ten minutes
Every parameter, setting and shortcode in this guide is documented with examples. Work through the listing and filter sections and your catalog becomes searchable this afternoon.
