Hide Add to Cart for Certain User Roles

You can suppress the add to cart on both the listing and detail page in this fashion:

Listing Page:

In your theme’s functions.php file add the following code.  Where you see ‘customer’, ‘administrator’; you can add more like ‘, ‘subscriber’, ‘editor’, … etc.  That will suppress the button from any logged in user NOT assigned one of those roles.


add_filter('wpim_cart_hide_button_in_listing','wpim_button_by_role');
function wpim_button_by_role( $hide ) {
$current_user = new WP_User( get_current_user_id() );
$user_role = ( ! empty( $current_user->roles ) ) ? array_shift( $current_user->roles ) : NULL;

if ( ! $user_role || ! in_array( $user_role, array( 'customer', 'administrator' ) ) ) {
$hide = TRUE;
}

return $hide;
}


Detail Page:

The detail page can suppress the add to cart in one of the following two ways:

1.  Template Override: –  copy the reserve_cart/views/add-to-cart.php template to the theme’s wpinventory/views/add-to-cart.php folder, then at the top add:


$current_user = new WP_User( get_current_user_id() );
$user_role    = ( ! empty( $current_user->roles ) ) ? array_shift( $current_user->roles ) : NULL;

if ( ! $user_role || ! in_array( $user_role, array( 'customer', 'administrator' ) ) ) {
return;
}

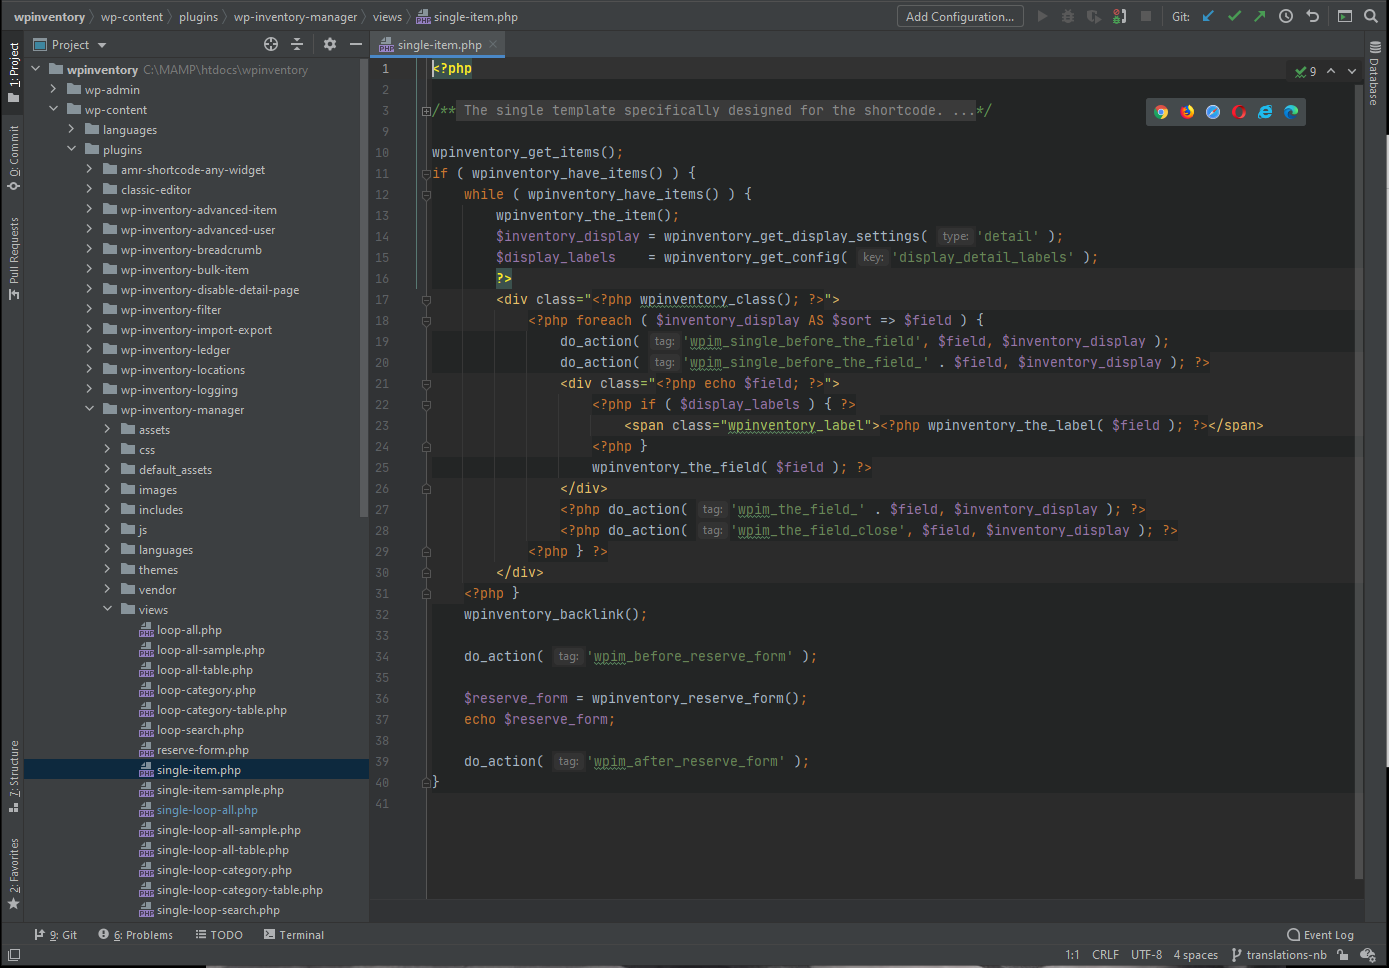
2.  Filter:   Hook into this filter and add this function which leverages the already-existing function used to hide the button on the listing page under the “Listing Page” heading above  (this is the “recommended” way, but either will work).


add_filter( 'wpim_get_template_part_path_<wbr />reserve-form.php', 'wpim_hide_button_in_detail', 99999, 1 );

function wpim_hide_button_in_detail( $template ) {
if ( wpim_button_by_role( FALSE ) {
// return nothing, which will cause the system to NOT render the template.
return '';
}

return $template;
}

Extending Reserve Form

Extending the Reserve Form

1.  In order to accomplish this job you are going to first have to setup your own reserve-form.php file via the template override system.  This is important because if you ever do an update with us, your form will not get wiped out.  So, you will want to copy that from the plugins directory and then setup the override system as explained here:

Template Override System

2.  So, now that you have copied over the file to a location that looks like:

/wp-content/themes/your-theme-name/wpinventory/views/reserve-form.php

We can start to modify it.

3.  For this tutorial, we will setup a check for the logged in user’s ID.  You want to paste this block of code inside the reserve-form.php file above the submit button some place.  You can put it wherever you want, just make sure you insert it between areas of PHP:

<?php if ($display_user) {

// Use WordPress Built in functionality to find the logged in user

if (!is_user_logged_in()) {
$user = 'Unknown User';
} else {
$user = get_current_user_id();
}

$required = ($display_user == 2) ? ' required' : '';  ?>
<div class="user"<?php echo $required; ?> style="display: none;">
<label><?php echo $user_label; ?><?php if ($required) { echo '<span class="req">*</span>'; } ?></label>
<input type="hidden" name="wpinventory_reserve_user" value="<?php echo $user; ?>"<?php echo $required; ?> />
</div>
<?php } ?>

Please notice the inline style that is “display: none;”.  You can do this to hide this block from the form.  It is an input we are going to take automatically without the user filling out anything at all.  And, to that point, the input is also type=”hidden”.  If the user is not logged in, it assigns the value “Unknown User”.  You can get creative and do your own checks for different conditions, etc., but for this tutorial we have done a basic one for a default value.

4.  Now, you need to go to your functions.php file located in your theme directory.  Then copy the following into it:
add_action('wpim_reserve_config', 'my_reserve_form_customizations');
function my_reserve_form_customizations($args)
{
$args = wpinventory_reserve_add_field($args, 'user', 'optional', 'User ID', 'wpinventory_reserve_name');

return $args;
}

What this is doing is passing the information along to the processor once the form field you just added in step three above has been added.  You need the add_action and you need the function.  What this function does is accepts five arguments:

4.1 –

$args

– you always have to have this and never need to change it.  It is always

$args

4.2 –  The next one is the name of the input.  Ours is ‘user’

4.3 –  The next one is if it is optional or required.  I have elected to make it optional.

4.4  –  The next one is the label.  The text that will sit next to the input on the form.  It is also the text that will be passed in the confirmation email.

4.5 –  The last one is the position in the form.  When you want to put the field in a certain position you need to know the name value of the field before it.  Passing this to the fifth parameter of this function will tell it to put the new field directly above the one you gave it the name for.

5.  To setup another field, you would just repeat the process by adding a new line like this:

$args = wpinventory_reserve_add_field($args, 'user', 'optional', 'User ID', 'wpinventory_reserve_name');
$args = wpinventory_reserve_add_field($args, 'project', 'required', 'Project', 'wpinventory_reserve_user');

So in this example, we added another field right under the ‘user’ called ‘project’ and gave it a label of “Project” and we want it to be required.  We then have to go back over to the reserve form, and again add that field:

<?php if ($display_project) {
$required = ($display_project == 2) ? ' required' : '';  ?>
<div class="state"<?php echo $required; ?>>
<label><?php echo $project_label; ?><?php if ($required) { echo '<span class="req">*</span>'; } ?></label>
<input type="text" name="wpinventory_reserve_project" value="<?php echo $project; ?>"<?php echo $required; ?> />
</div>
<?php } ?>

6.  You can now navigate to your form and fill it out and submit it.  You will receive an email that will have these details in it for you as well as whatever normal settings you have set through the dashboard.

Using the logic of this tutorial, you can put any field types you want in the reserve form.  Such as checkboxes, radio buttons, textarea, etc.

Getting Started Using the Template Override System

Getting Started Using the Template Override System

The short version: to use the template override system, you will copy any files in the plugin “views” folder that you’d like to override from the core plugin folder, and paste them into a new folder in your theme (wpinventory > views). You can make any changes you want to that copied file, and the plugin will automatically take your custom template and prioritize it over the default plugin file.

The long version:

Step One:

First you’ll need to access your site’s files – the exact method to do so will vary depending on your hosting solution. Your files may be stored locally on your computer, or you may need to access them via FTP. No matter the case, once you have the files open, you’ll need to find the wpinventory plugin folder. Within that folder is a folder titled “views” that contains all of the available templates to override. You can find a reference on the available files and what frontend display they affect here. As an example, let’s say we wanted to override the look of the item detail page. The screenshot below shows the path to find the relevant file. Once you find it, copy the file.

Step Two:

Inside of your website’s theme folder, create a new folder titled “wpinventory”. Within that folder, create another new folder titled “views”. Then, paste the copied file from step one into the “views” folder you just created. Ensure you don’t change the name of the file! The screenshot below shows an example path.

Step Three:

The file you copied into a new folder in step two will now override the default plugin file! You can make as many changes as you need to the HTML layout or other data, and your work will not be lost even after updating the plugin.

As mentioned before, custom development of this nature falls out of the scope of our license support. However, we understand that the template override system may be a bit daunting for those unfamiliar with PHP. Don’t worry, there’s still an option to reach out for help.  We offer a paid service for custom template development. If you need help customizing a view for your site, please Complete our Contact Form to reach out for more information.

Template Override System

WP Inventory Manager Template Override

What is a template override?

We’ve designed WP Inventory to be developer-friendly, meaning anyone with a working knowledge of PHP can go in and edit the plugin files. However, you don’t want your changes to be erased every time you update the plugin.  This is where the template override system comes in handy. A template override allows you to change the output, or even the HTML of the page via your own custom programming.  In short, the template override system provides a way for you to craft custom templates for displaying your inventory, without altering the core plugin files. This system ensures you can create frontend pages that meet your exact need, without risking them being overwritten when you update the WP Inventory plugin. Ready to get started? Dive into more details on the righthand sidebar, or click here to learn how to use this handy system.

Please be aware that working with the template override system falls outside the scope of our license support. However, we understand that the template override system may be a bit daunting for those unfamiliar with PHP. Don’t worry, there’s still an option to reach out for help.  We offer a paid service for custom template development. If you need help customizing a view for your site, please Complete our Contact Form to reach out for more information.