Locations Manager
Divide your inventory by location for enhanced management
Have multiple stores or warehouses? The Locations Manager add-on is the ideal tool for you. This powerful extension allows you to manage your inventory items and their quantities based on different set locations, and see activity reports for each individual location. You can even include the location in the reserve form confirmation email for seamless communication with your customers. You can either utilize the following instructions, or follow along with this tutorial video:
Installation
- Purchase and Download the Locations Manager add-on.
- Install the add-on through your WordPress dashboard by navigating to the “Plugins” tab.
- After browsing and uploading the ZIP file, activate the plugin.
- After you enter your license key, there will be two new links under your WP Inventory tab in the dashboard called “Locations” and “Location Activity.”
Adding and Setting Locations
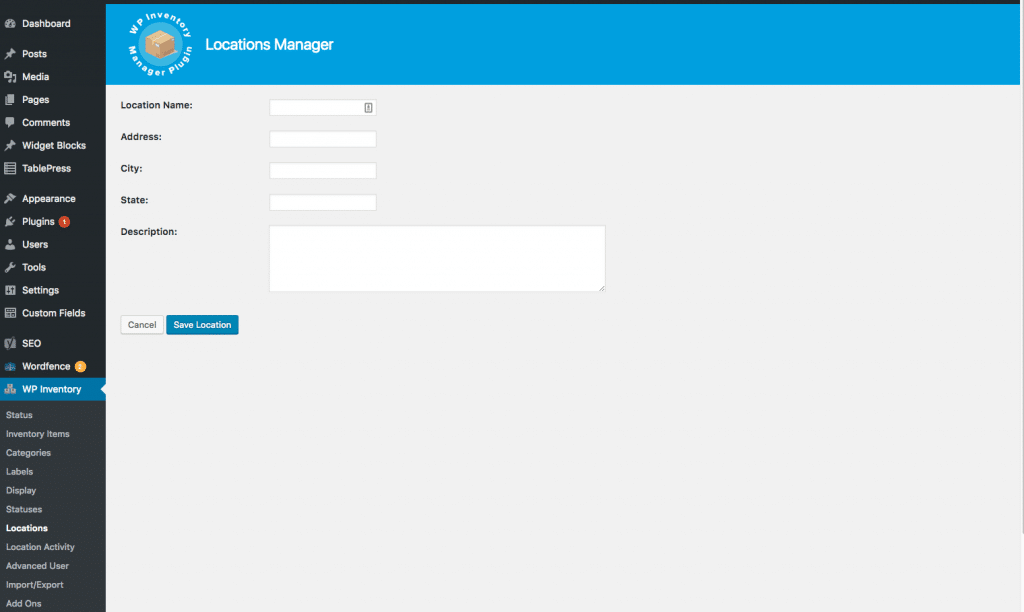
- Navigate to the “Locations” page of WP Inventory Manager.
- Click the “Add New Location” button
- Fill out the following form of basic location information, and click “Save Location” when finished
Now when you create any new inventory items or edit inventory items already present, there will be a new field in the creation form called “Assign to Locations.” Here, you can choose the locations where the item is available, and set the specific quantity available at said locations. Please note that the sum of the quantities set for the Locations must equal the quantity entered in the default field.

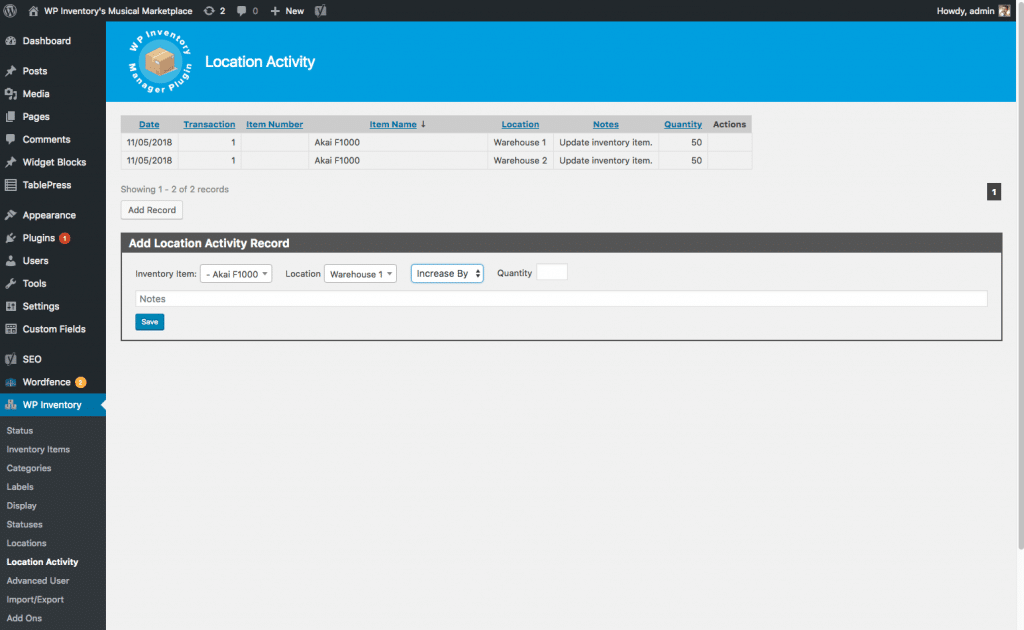
Managing the Activity Log
By clicking the “Location Activity” menu item, you’ll be able to see the activity log. This is a log of changes to quantity based on inventory items and locations. Whenever a quantity is set or changed in the inventory item creation process or editing process, the system creates an entry in the activity log. These activity log entries cannot be edited or deleted.
However, it is possible to create manual entries in the activity log for changes not handled through the system (returns, last minute changes, etc.) or for bookkeeping and other ad-hoc adjustments.
Locations Manager Settings
Along with the “Locations” and “Location Activity” menu items, you’ll also find a new tab on the settings page for settings specific to Locations Manager.
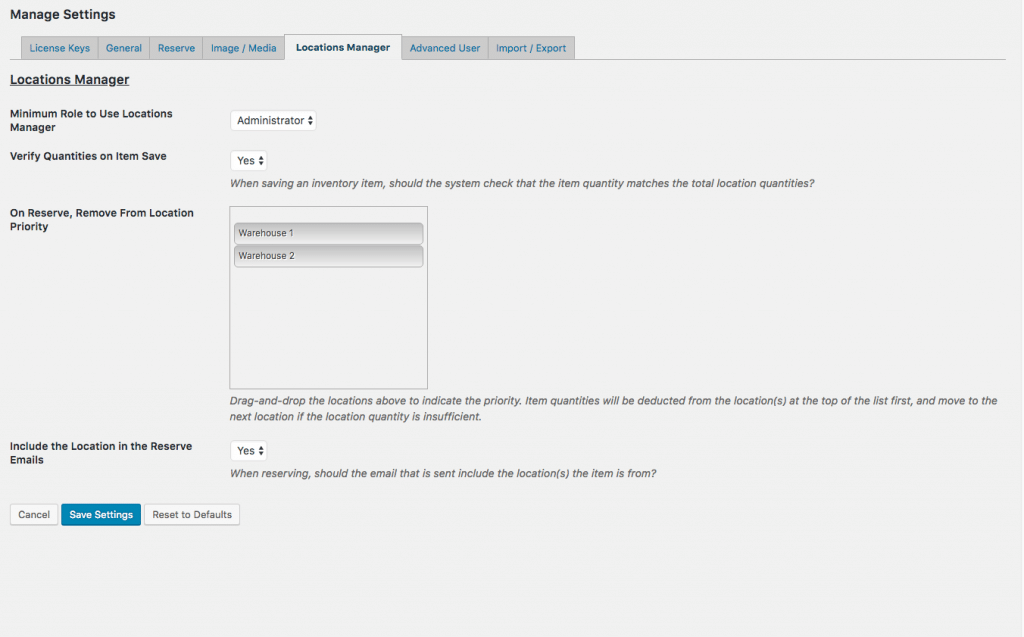
- Minimum Role to Use Locations Manager – This sets the role that a user must have to create locations and create entries in the activity log.
- Verify Quantities on Item Save – When enabled, the system will run a check whenever an inventory item is created or edited to ensure that the sum of the quantities allocated to different locations matches the total quantity available of the item (which is set separately). An error will be returned if the values don’t match.
- On Reserve, Remove from Location Priority – This list determines the order of which location will have its quantity reduced when a user reserves an item. If the top of the list has a quantity of 0, the next location will be updated, and so on. At this time, this is only the way to choose which Location an inventory item deducts from on reserve.
- Include the Location in the Reserve Emails – When enabled, the user’s reserve order confirmation email will include the location that the item has been reserved from.
