Installation
Installing the WP Inventory Manager Plugin and Add Ons
The following set of instructions will allow you to install your plugin and activate it.
- Download the plugin (along with any add ons) and save the ZIP file(s) to your computer
- From here, we recommend a simple installation through the WordPress dashboard.
Installing Through WordPress Dashboard:
- Login to your WordPress dashboard
- Navigate to your “Plugins” tab on the lefthand menu
- At the top of that page, click the “Add New” button

- At the top of the next page, click the “Upload Plugin” button

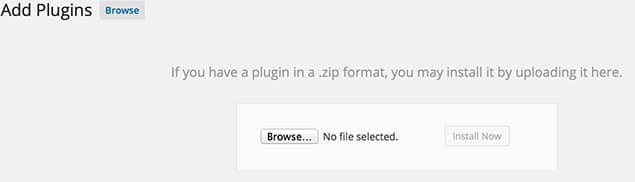
- Browse to your downloaded ZIP file, or drag and drop the file into the file selection box. Make sure the file is still a ZIP – do not unzip it. Once the ZIP file is loaded, click “Install Now.”
- The next page will tell you the plugin was successfully installed and give you an option to “Activate Now”
- After activating the plugin, it is now installed and ready to be configured.
If you’re unable to install via the WordPress dashboard, please contact us for support to install WPIM via FTP. Next step, configuration.
