Configuring WP Inventory Manager
Excellent! You have installed the WP Inventory Manager successfully. Lets get it all setup!
The WP Inventory Manager has a great deal of control over the management and display of your inventory items. You have the ability to define your own label text, to set endpoints/SEO friendly links, use shortcodes to display various inventory, and much more. The purpose of this document is to step through the configuration process in a detailed, step-by-step process. The first place we will start is the main page of the WP Inventory tab.
Main Tab
This page is your quickest way to get things going. Following these six steps will get you going on a basic level within minutes!
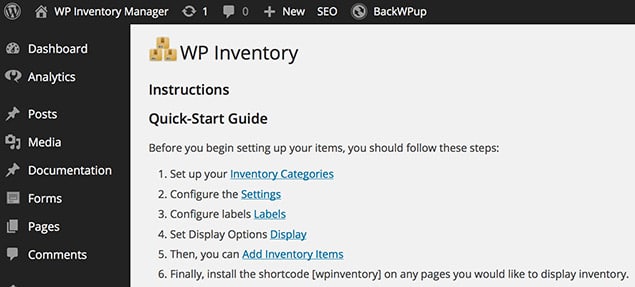
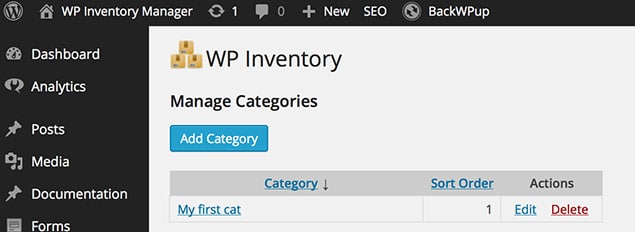
The first step is to setup your inventory categories. Clicking this link takes you to the inventory categories page where you can then add as many categories as you would like. Some examples of categories may be: skis and snowboards. Those two categories would be a great way to keep inventory for skis in a category called “skis” and snowboards in a category called “snowboards”. Later, in the shortcode options section, we will demonstrate how to list products specifically from various categories.
After setting up categories, it’s also worthwhile to evaluate your need for custom Statuses. You can find the two default statuses in the menu item of the same name – Active (shown in on the frontend, can be reserved) and Inactive (hidden on the frontend, can’t be reserved). We’ve seen several use cases using custom statuses such as featured items and putting items on backorder.
The second link on the WP Inventory Manager main tab is the “Settings” link where the plugin is configured.
