
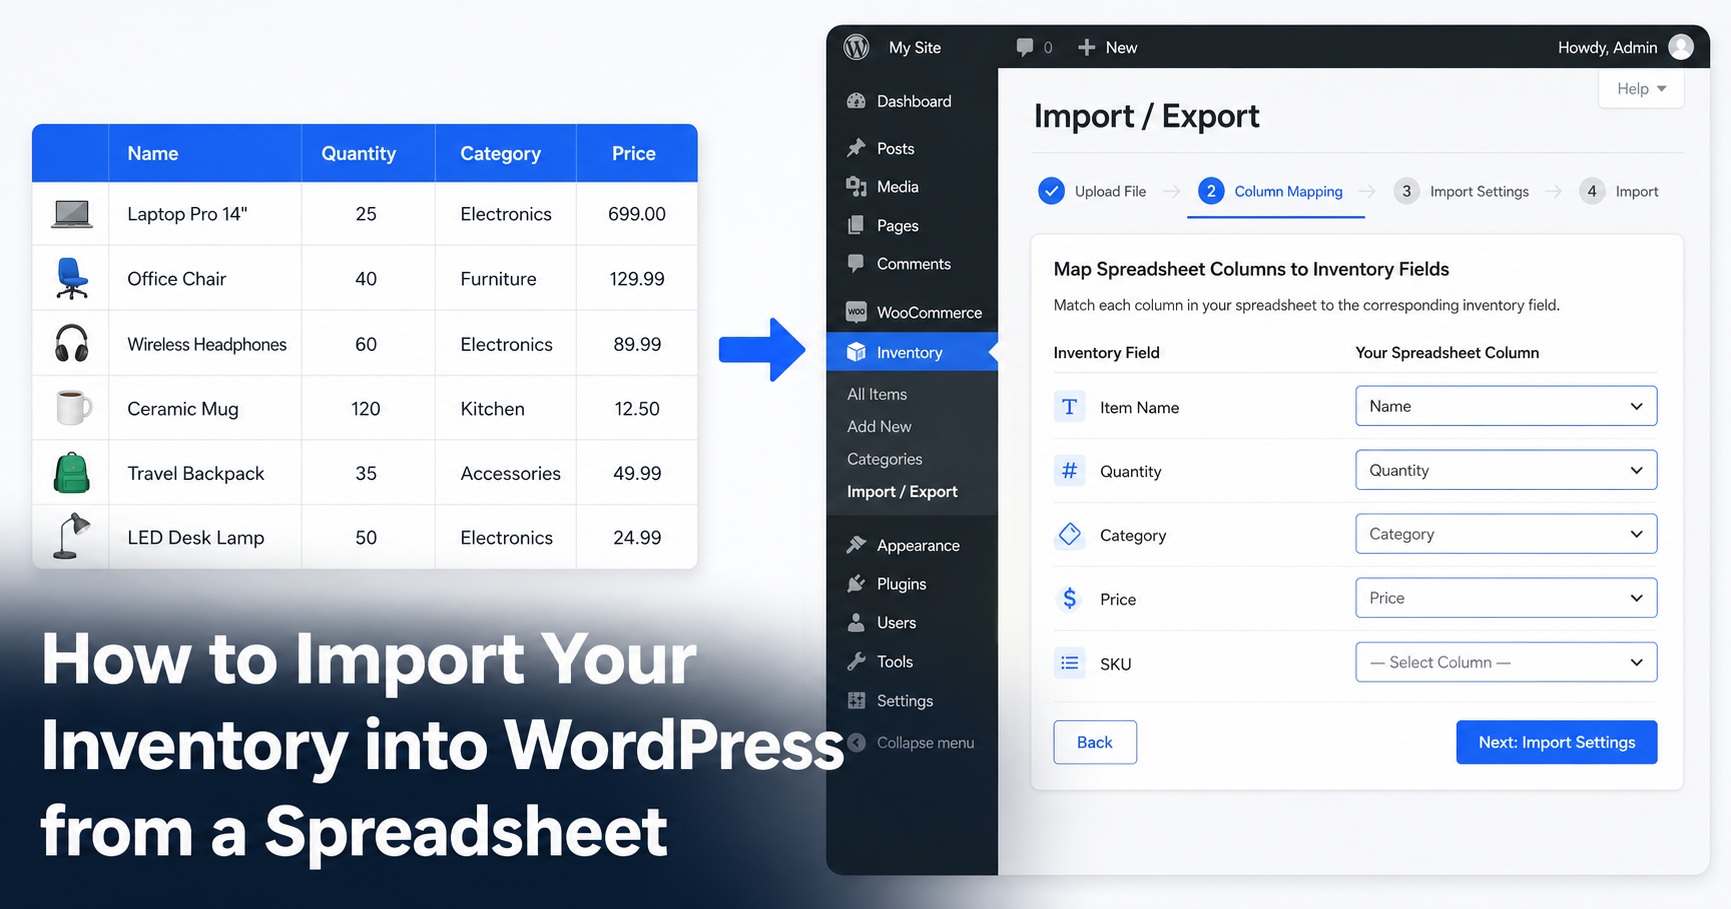
If your inventory already lives in a spreadsheet, you do not need to retype it into WordPress one item at a time. WP Inventory Manager reads a CSV file and turns each row into a full inventory record, complete with categories and images. A list that would take a whole afternoon to enter by hand goes in within minutes.
This tutorial walks through the entire process: preparing your file, exporting it to CSV and running the three-step import wizard. By the end you will have your catalog inside WordPress and a repeatable way to update it later.
If you’re building your inventory system from scratch rather than just migrating existing data, see our complete guide to managing inventory in WordPress without WooCommerce.
Why move off the spreadsheet
Spreadsheets are fine for a first list. They stop being fine once more than one person needs the data, once you want it on your website, or once a serial number matters for insurance.
Importing into WP Inventory Manager keeps the convenience of working in a spreadsheet while giving you a real system on top: a searchable admin, a front-end display through the [wpinventory] shortcode and per-item fields for quantity, category and serial number. You edit in bulk when it suits you, then import the changes.
What you need before you start
Importing is handled by the Import / Export add-on, which is included in the All Access Pass. Make sure it is installed and active, then check that your file is ready. A clean import file has four things.
- A heading row. The first row names each column: Name, Quantity, Category, Price, Serial Number. Clear headings let the importer match columns automatically.
- One item per row. Every row is a single inventory record. Avoid merged cells and blank separator rows, which confuse the parser.
- Consistent categories. Spell each category the same way every time. “Power Tools” and “power tools” become two separate categories on import.
- Image URLs, if you have them. Put a public link to each photo in an image column. The importer fetches the file and attaches it to the item for you.
Step 1: prepare your spreadsheet
Open your file in Excel, Google Sheets, or any spreadsheet tool. Put each piece of data in its own column and give every column a plain heading. Match your headings to the fields WP Inventory Manager uses so the next steps go faster.
Example: A hardware shop sets up four columns: Name, Quantity, Category, Price. The first data row reads “18V Cordless Drill, 12, Power Tools, 129.00.” Forty rows later the file holds the whole shop, ready to import.
Step 2: save the file as CSV
The importer reads CSV files, which almost every spreadsheet tool can produce. In Excel choose File > Save As and pick “CSV (Comma delimited).” In Google Sheets choose File > Download > Comma-separated values.
Keep the original spreadsheet as your working copy. The CSV is just the version you hand to WordPress.
Step 3: upload the CSV
In your WordPress admin go to WP Inventory > Import / Export and choose the import option. Upload your CSV file. The importer reads the first few rows and shows you a short preview so you can confirm it found your columns.
Tick the box for “File contains heading row” if your first row holds column names, which it should after Step 1.
Step 4: Map your columns
This is the part that saves you from manual entry. The importer tries to match each column in your file to a field in WP Inventory Manager, so a column named “Quantity” lines up with the quantity field on its own.
Review the suggested matches and fix any that landed wrong using the dropdown next to each column. If a column does not belong in your inventory, you can leave it unmapped and the importer skips it.
Example: A column titled “Cost” auto-maps to a custom field instead of Price. You open the dropdown, point it at Price and the rest of the mapping stays as detected. One fix and you are ready to run.
Step 5: Run the import
With your columns mapped, start the import. WP Inventory Manager creates one item per row and reports how many records it added. Open WP Inventory > Manage Inventory to see your catalog populated.
If something looks off, the add-on supports rolling back an import, so a test run on a few rows carries no risk. Import five rows first, check the result, then run the full file with confidence.
Categories and images on import
Two settings make the first import do more of the work for you.
- Create categories automatically. Turn this on and any category in your file that does not exist yet is created during the import, so you do not have to build the list by hand first.
- Fetch images from URLs. Give each row a public image link and the importer downloads the photo and attaches it to the item.
For the full import and export instructions, see the Import/Export documentation.
Exporting and updating Later
The same add-on exports too. From the inventory list you can export everything or just the items that match your current filter, which lands as a dated CSV file.
That gives you a clean update loop: export the current data, edit it in your spreadsheet, then import it back. Bulk price changes, seasonal additions and stock counts all become a quick round trip instead of dozens of edits inside WordPress.
Get started: Read the full walkthrough in the Import/Export documentation, or download the free plugin and build your catalog today.
