Inventory is what you sell. Assets are what you keep. The laptop your bookkeeper uses, the projector in the meeting room, the mowers in the shed, the folding chairs in the church basement. Nobody buys these from you, but losing track of them costs real money.
Most asset tracking software is priced for enterprises: per user, per month, forever. Spreadsheets are free but go stale the day someone forgets to update them.
There is a middle path. If your organization runs a WordPress site, you already own the platform your asset register can live on. This guide shows you how to build it, what the free version covers and where the paid add-ons earn their keep.
Asset tracking vs inventory management
The two get lumped together, but they answer different questions:
- Inventory management asks “how many do we have left?” It cares about quantities, reorder points and stock that flows in and out.
- Asset tracking asks “where is it, what condition is it in and who has it?” It cares about individual items with serial numbers, locations and history.
A coffee shop tracks bags of beans as inventory and its espresso machines as assets. The beans get consumed. The machines get maintained, moved and eventually retired.
WP Inventory Manager handles both, because an asset register is really an inventory of things with a quantity of one and a lot of identifying detail. The item record already carries the fields asset tracking needs.
What a real asset register needs
A working asset register handles five things:
- Identity: name, asset number, make, model, year and serial number. If it walked out the door, you could describe it to an insurer.
- Status: in use, in repair, in storage, retired. Status tells you what portion of your equipment is actually working for you.
- Location: which building, which room, which vehicle. Multi-site organizations need per-location counts and a record of transfers.
- History: who changed what and when. An audit trail turns “I think we had three” into a number you can defend.
- Access: staff need to look assets up fast while you keep control over who can see or edit which records.
Building the register: free setup
Add your assets as items
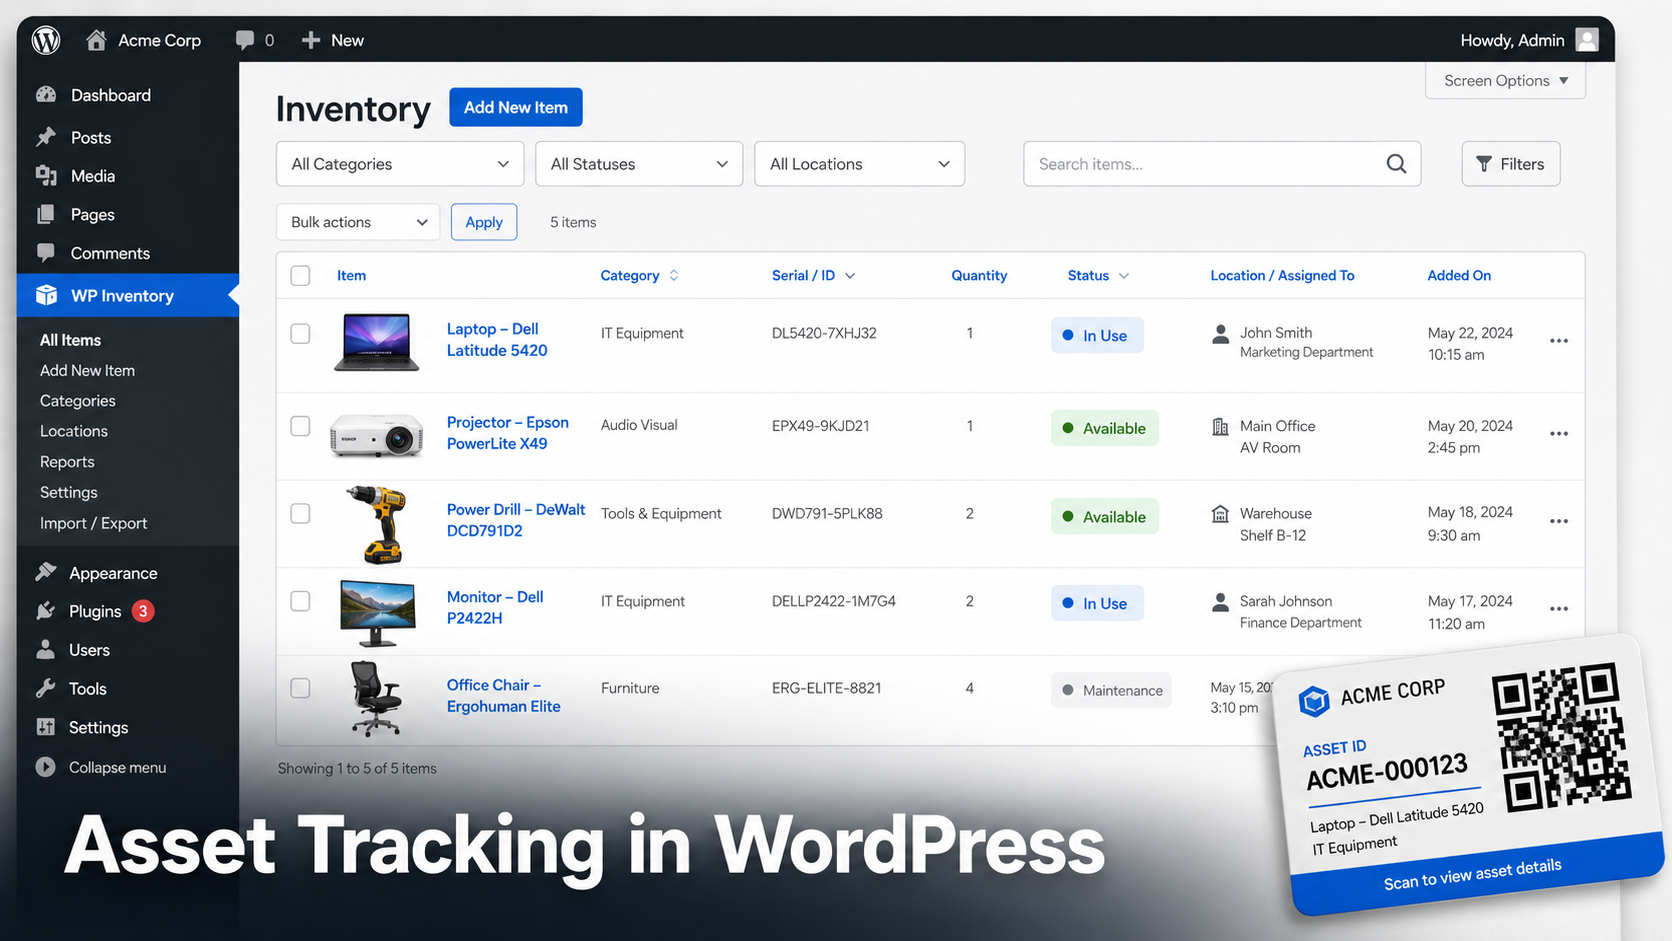
Go to WP Inventory > Add Inventory. The item record includes fields built for asset work: item number, make, model, year and serial number, alongside name, description, quantity and an image. For most assets the quantity is simply 1.
Rename fields with Labels
Not every field name will match your vocabulary. The WP Inventory > Labels screen lets you rename any field across the whole system. “FOB” can become “Assigned To” and “Size” can become “Condition.” You shape the register around your organization without touching code.
Use categories and statuses
Build a category tree under WP Inventory > Categories (IT Equipment, Vehicles, Furniture, AV Gear). Then use WP Inventory > Statuses to define lifecycle states like In Use, In Repair and Retired. Together they answer the two most common questions: what kind of thing is it and can we use it right now.
Example: A community college media department registers 40 cameras, 25 tripods and 60 microphones. Each camera record carries its serial number, purchase year and a status. When a student reports a broken zoom ring, the tech sets that camera to In Repair. The checkout desk sees 39 available cameras instead of 40 and stops promising gear that is sitting on a workbench.
Put the register where people can see it
Add the shortcode to any page to display the register on the front end:
[wpinventory]
Show it publicly, or place it behind a login for staff only. The user documentation covers the display options in detail.
Custom fields for different asset types
A vehicle needs different fields than a laptop. The Advanced Inventory Manager add-on lets you define item types, each with its own custom fields: text, number, dropdown and more.
Define a “Vehicle” type with fields for license plate, VIN and next service date. Define a “Computer” type with fields for warranty expiry and assigned user. Each asset only shows the fields that belong to its type, which keeps data entry clean and your reports meaningful.
Locations and transfers
Once assets live in more than one place, “where is it” becomes the hard question. The Locations Manager add-on tracks quantities per location and records transfers when assets move, with an activity log that shows what went where.
- See at a glance which office, warehouse or campus holds each asset.
- Move assets between locations and keep the paper trail automatically.
- Review location activity when something goes missing.
Example: A nonprofit with three offices tracks 25 donated laptops. When two laptops move from the downtown office to the shelter site for a job training program, the coordinator records the transfer. Six months later, during the grant audit, the activity log shows exactly when they moved and the auditor gets an answer in thirty seconds instead of thirty emails.
QR labels: close the physical gap
A register is only as good as the link between the record and the physical object. The QR Code add-on generates a QR code for each asset that points to its detail page and can bulk-print labels for your whole register in one pass.
Stick a label on each asset. Anyone with a phone camera scans it and lands on the record: what it is, what status it is in and where it belongs. No app to install, no scanner hardware to buy.
History and accountability
Asset registers lose credibility the first time a number is wrong and nobody knows why. Two tools keep yours honest:
- WP Inventory Pro ($79/yr) adds quantity history, so every change is dated and attributed, plus low-stock email alerts and min/max quantity fields for consumables you track alongside assets.
- The Ledger add-on records cost against each change. Five chairs added at $40 each shows as $200 of value in, which gives your treasurer or bookkeeper the paper trail for asset value over time.
If different people manage different sites, the Advanced User Control add-on restricts which records each user can see and edit, so the branch manager updates their own building and nothing else.
Who tracks assets in WordPress
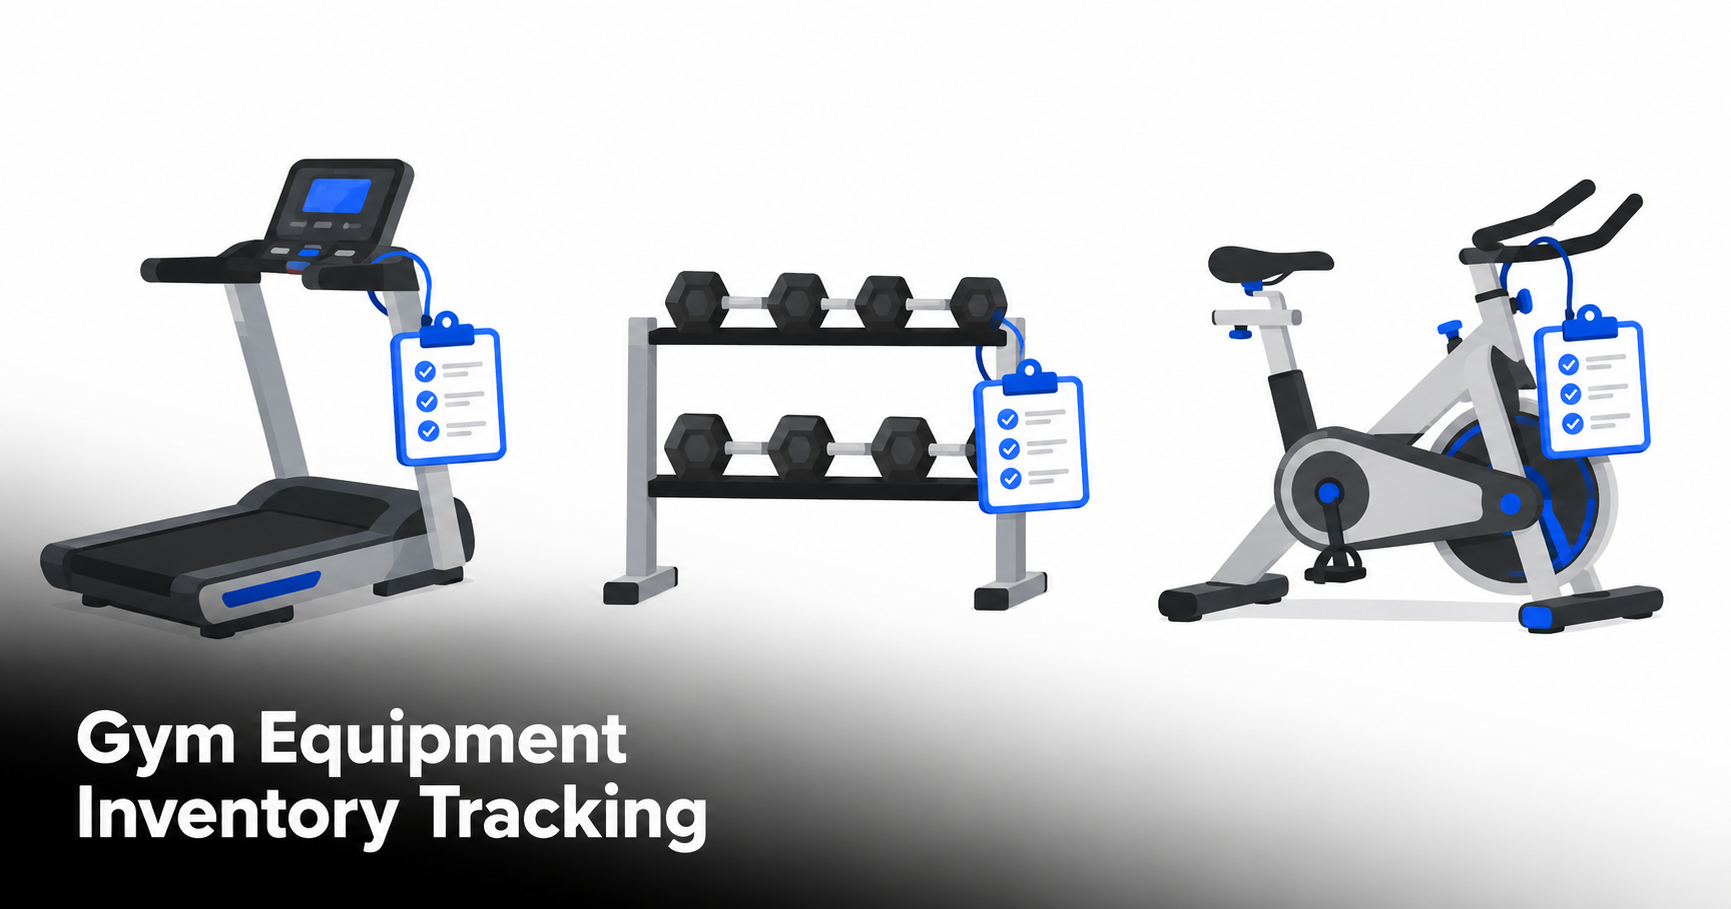
This approach fits any organization that owns more equipment than one person can remember. We have written specific playbooks for several of them: schools tracking Chromebooks and textbooks, nonprofits managing donated goods, churches and ministries and gyms tracking equipment.
The pattern is the same in each: WordPress is already there, the budget does not stretch to enterprise software and the register has to work for volunteers or part-time staff, not just IT.
Getting the full toolkit
The add-ons above are available individually on the add-ons page. If you want the complete asset tracking stack in one purchase, the All Access Pass ($199/yr) bundles WP Inventory Pro with Locations Manager, Advanced Search, Reserve Cart and Advanced User Control.
Start free, prove the register works for your team and upgrade when a specific gap shows up. That is the order that wastes the least money.
Frequently asked questions
Can WordPress really replace dedicated asset tracking software?
For small and mid-sized organizations, yes. WP Inventory Manager records identity, status, location and history for each asset, which is the core of what dedicated platforms sell. You give up telematics-style automation and gain a register with no per-user monthly fees on a site you already maintain.
Do I need WooCommerce for asset tracking in WordPress?
No. WP Inventory Manager runs independently of WooCommerce and does not require any ecommerce functionality at all.
How do I track which employee has a piece of equipment?
Use a custom field or a renamed core field (via Labels) to record the assigned person on each asset record. For formal check-out workflows, the reservation system lets staff submit a request for an item and gives you a record of who asked for what.
Can I print asset labels from WordPress?
Yes. The QR Code add-on generates a code per asset that links to its record and supports bulk printing, so you can label an entire room of equipment in one session.
Is there a free version I can start with?
Yes. The free version of WP Inventory Manager is on the WordPress plugin repository and covers asset records, categories, statuses and front-end display. Add locations, QR labels or history tracking later if you need them.
Build your asset register this week
Every month without a register is another month of equipment quietly going missing. The free version installs in minutes on the WordPress site you already have. The paid tiers wait until you actually need them.